Composting 101, the basics
This post is for anyone that is interesting in getting started or has just started venturing in to the world of composting. I have to say, when I started composting, what I enjoyed the most was that I would be able to really minimize our food waste. I had also just started vegetable gardening as well and had heard that composting was like creating an unending source of "black gold" that would build up our soil and nourish everything we grew. That was enough to sell me on the idea and I jumped right in.
These are the most important steps for getting started and you can easily build upon them as you get the hang of things. First, you need to decide what type of container you want to use and where you are going to put it. Or, you can forgo a contained area and just do a pile. (I don’t recommend a non-contained pile if you want to keep animals out of it or easily be able to collect your finished product.) There are a myriad of different options to suit your desired and spatial needs. We chose to build our compost area out of wood pallets and lined the inside with construction mesh. If you are interested in doing the same, make sure when collecting your pallets that they are not made from treated wood. Treated wood contains chemicals that can leach into the compost and contaminate it. You can tell they are clean by looking at the stamp that is on the pallet itself. These are the stamps you want to look for and what they mean:
The treatment code : [HT] = Heat treatment / [MB] = Methyl Bromide / [DB] = Debarked / [KD] = Kiln Dried. DB (Debarked) and HT (Heat-treated) Above are the two most important information to check on the pallet stamp
(For further pallet info, check out this link: Click here for more information.)
Avoid ANY pallet that has MB stamped on it!! Heat treated, kiln dried and debarked are fine usually. I'm no expert, but this is the information I used when selecting my pallets. I encourage you to look at the link I posted above as well as do your own research until you feel confident you're making a good choice:)
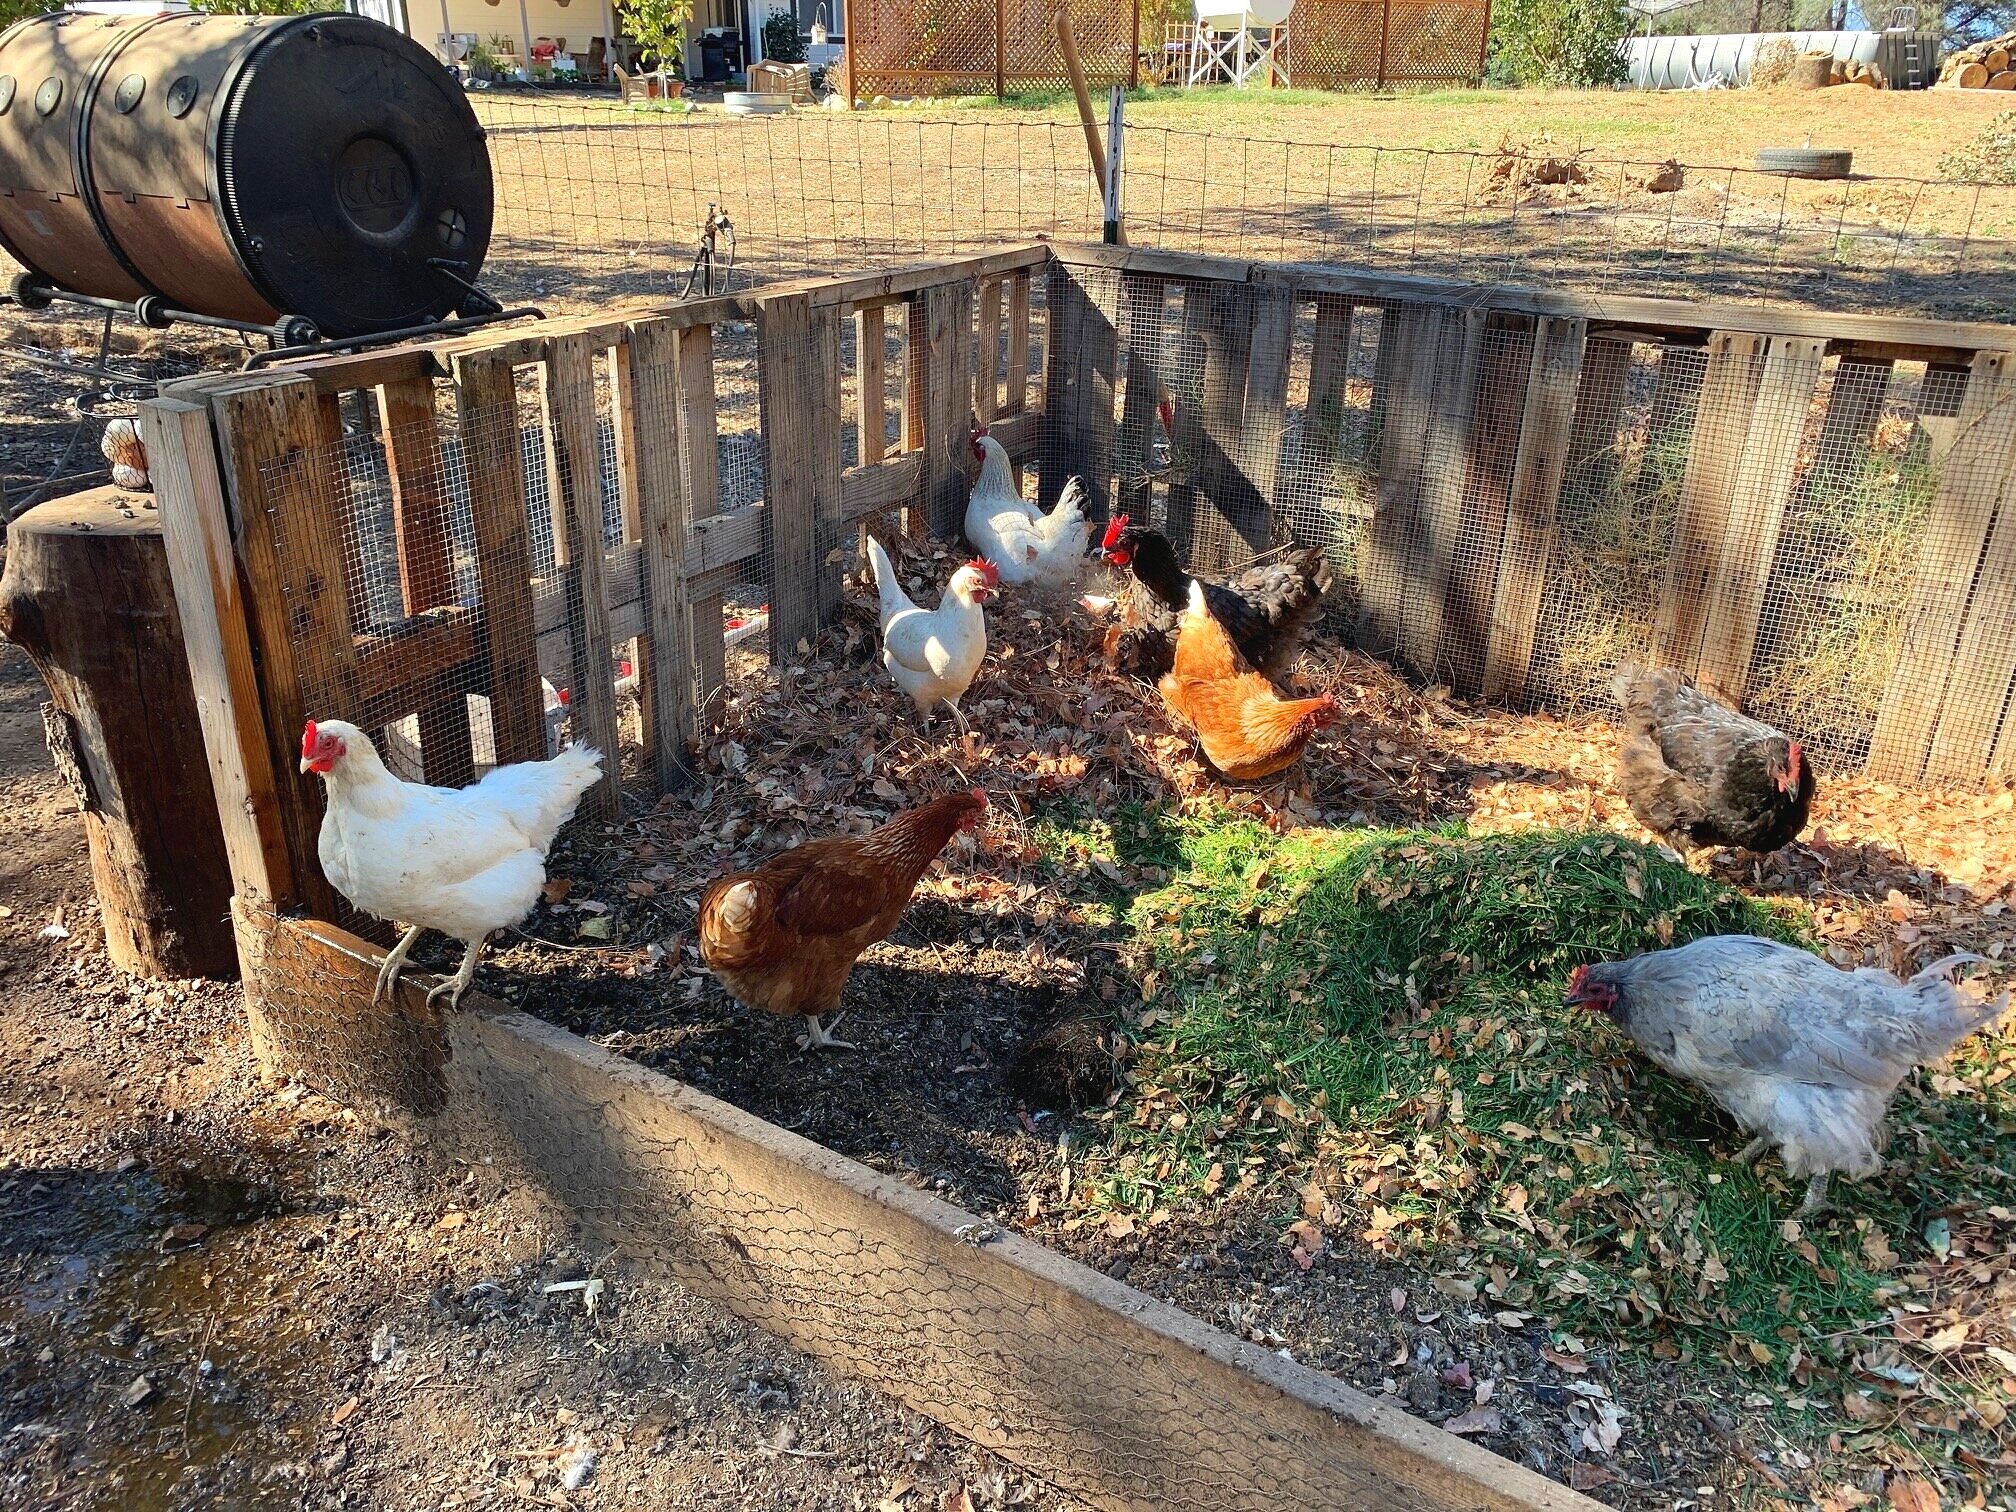
This is our compost bin in the chicken coop. You can also see out tumbler off to the left. It’s years old but still works as well as the day we got it.
You can also choose to purchase a bin or tumbler. If choosing a bin, try making one from untreated wood you have lying around or chemical free pallets, if you have the space for it. Or if you live in a more compact space, a bin like this would be great! Here's the link. The difference between a bin and a tumbler is with a bin you’d still need to manually shift the pile around and the tumbler has a handle you can turn, taking a bit of the work out for you. I have both, a large bin made from pallets and a large metal tumbler for when I need to get finished compost more quickly.
As far as a tumbler, this one is the route I would lean towards in choosing a tumbler being that it’s metal, BPA free and would hold up well in all seasons. Click here for the link. My husband always reminds me to make the best possible quality choice as my first choice so I don’t have to rebuy something once it either breaks or falls apart because it’s cheaper. He’s always been right. Sigh…the man knows his tools!

Here we just added some fresh grass clippings and a bunch of fallen oak leaves and pine needles. Thankfully fallen leaves are in abundant supply right now.
Now you get to start collecting your materials while you wait for your container to arrive or are building one. To make things really simple you only need 3 things to compost successfully: brown materials, green materials and water. Brown materials are things such as dead leaves/needles, cardboard, paper products, dead garden plants etc. These materials are carbon producers in the compost. Green materials are fruit/veggie scraps, animal manures (non-carnivores only!) fresh grass clippings etc. These things are nitrogen builders for your compost. Ideally, you want to always shoot for a ratio of 75% brown materials and 25% green. This will keep things balanced and not too hot, allowing for the beneficial microbes and all the goodies to grow during the decomposition process.
Lastly, now that you have your materials all added together, its time to water your pile. You want to always keep your pile damp. If it gets too dry, it will slow the decomposition process and everything will just dry up and not break down. You don’t want it soggy or too wet either. Try to shoot for it feeling moist when you touch it but not so damp that your hand is wet after touching it. After watering it, you want to turn the compost, mixing everything up so its evenly moist throughout the whole pile. Turning the pile allows for oxygen to get in, which is a crucial step in the whole breakdown process. The microbes that cause the materials to break down need oxygen to survive, so turning the pile ensures they have what they need. Aim to water and turn your pile 1-2 times a week or any time the pile starts to look dry. I have found this tool to be extremely helpful in turning my compost, rather than a pitchfork or shovel. I also use it to spread the woodchips in my garden. It’s fantastic! Click here for the link.
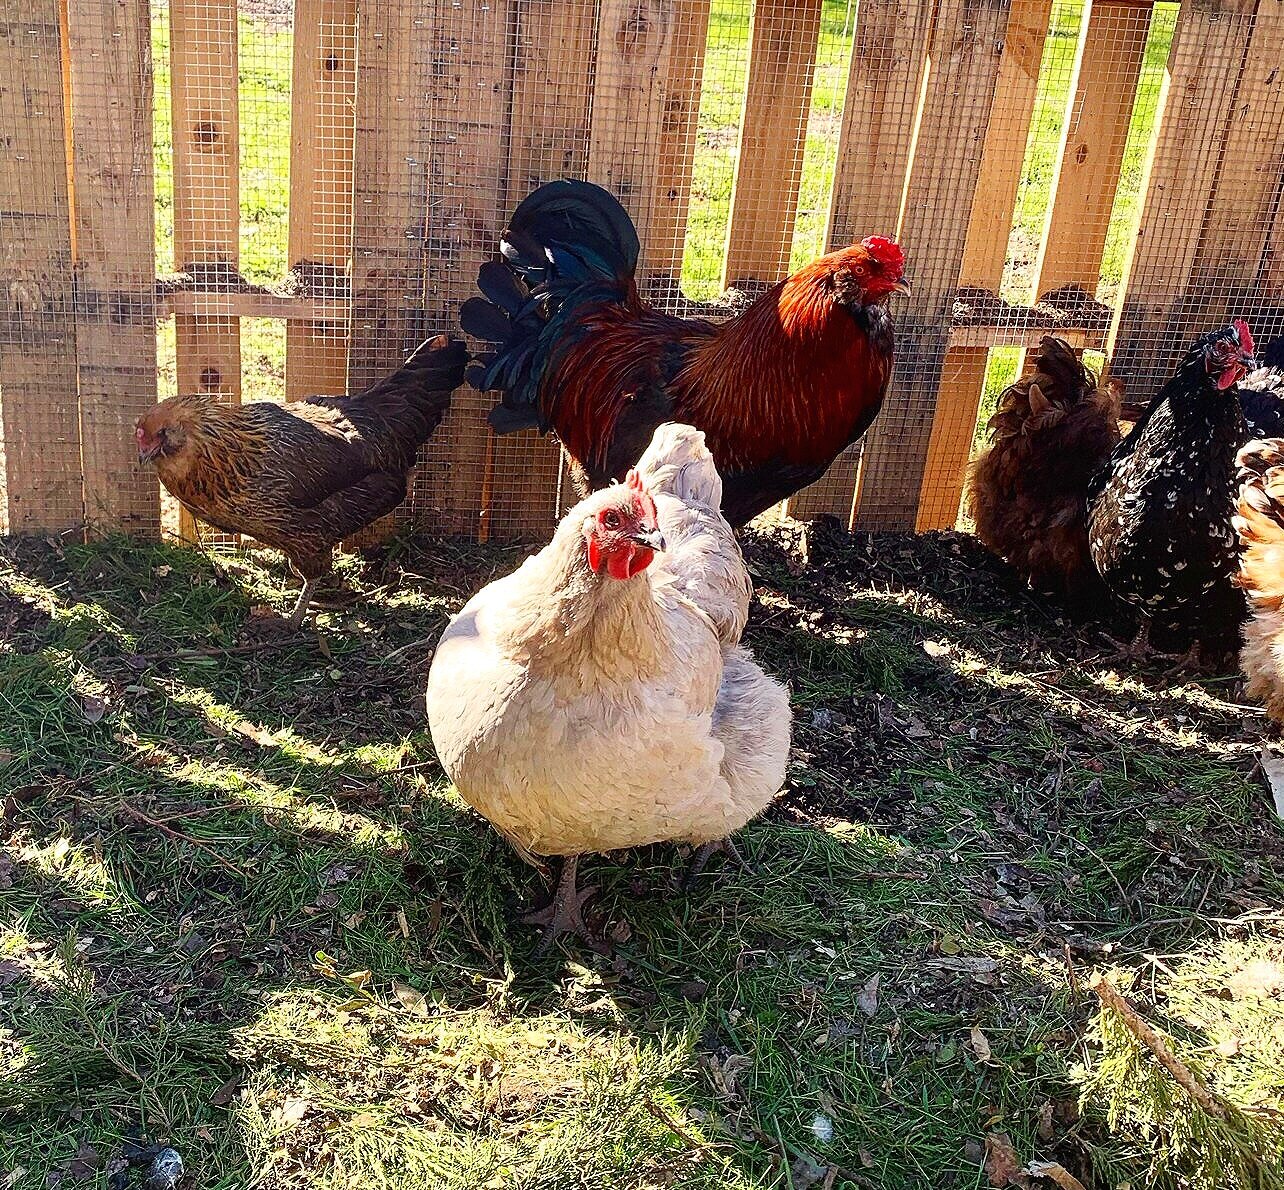
These girls love when we add fresh grass clippings to our pile! Another reason why I grow fodder for them regularly.
If you have chickens, another great time saving option is to put your compost bin in your chicken run and let your girls do the turning and work for you! (and as you can see, I can’t even get a picture without having my girls front and center!) Then all that's left for you to do is to water it as needed. How often you water is dependent upon the season and how wet/dry it is. Also, how quickly your compost breaks down into useable compost will depend on the temperature and moisture level. You can do more research and find out the ideal composting temps etc. by doing a quick Google search if you like, but I've found that as long as you keep adding material, watering and turning your pile, nature does its thing and soon I have beautiful, nutritious compost that my garden and fruit trees love.
Happy composting!