
Kombucha like crazy…
I really like Kombucha. I like it enough that I pretty much drink a glass or bottle daily. So, I've decided to finally start making my own.
I really like Kombucha. I like it enough that I pretty much drink a glass or bottle daily. So, I've decided to finally start making my own. This is something I've wanted to do for quite a while now but never got around to actually doing it. I think it landed on my mental list of 'things I'd like to do', but never made it over to the "I'm doing this" phase. Until recently. So, to prepare I watched a couple videos on YouTube and then my awesome neighbor (and friend) came over and walked me through it. It's actually super easy! It's also pretty fun when you get to the second fermentation when you get to flavor it and it becomes carbonated. So, now that it’s my chance to share, let me make it easy for you and walk you through how I make it.
Here’s what you do:

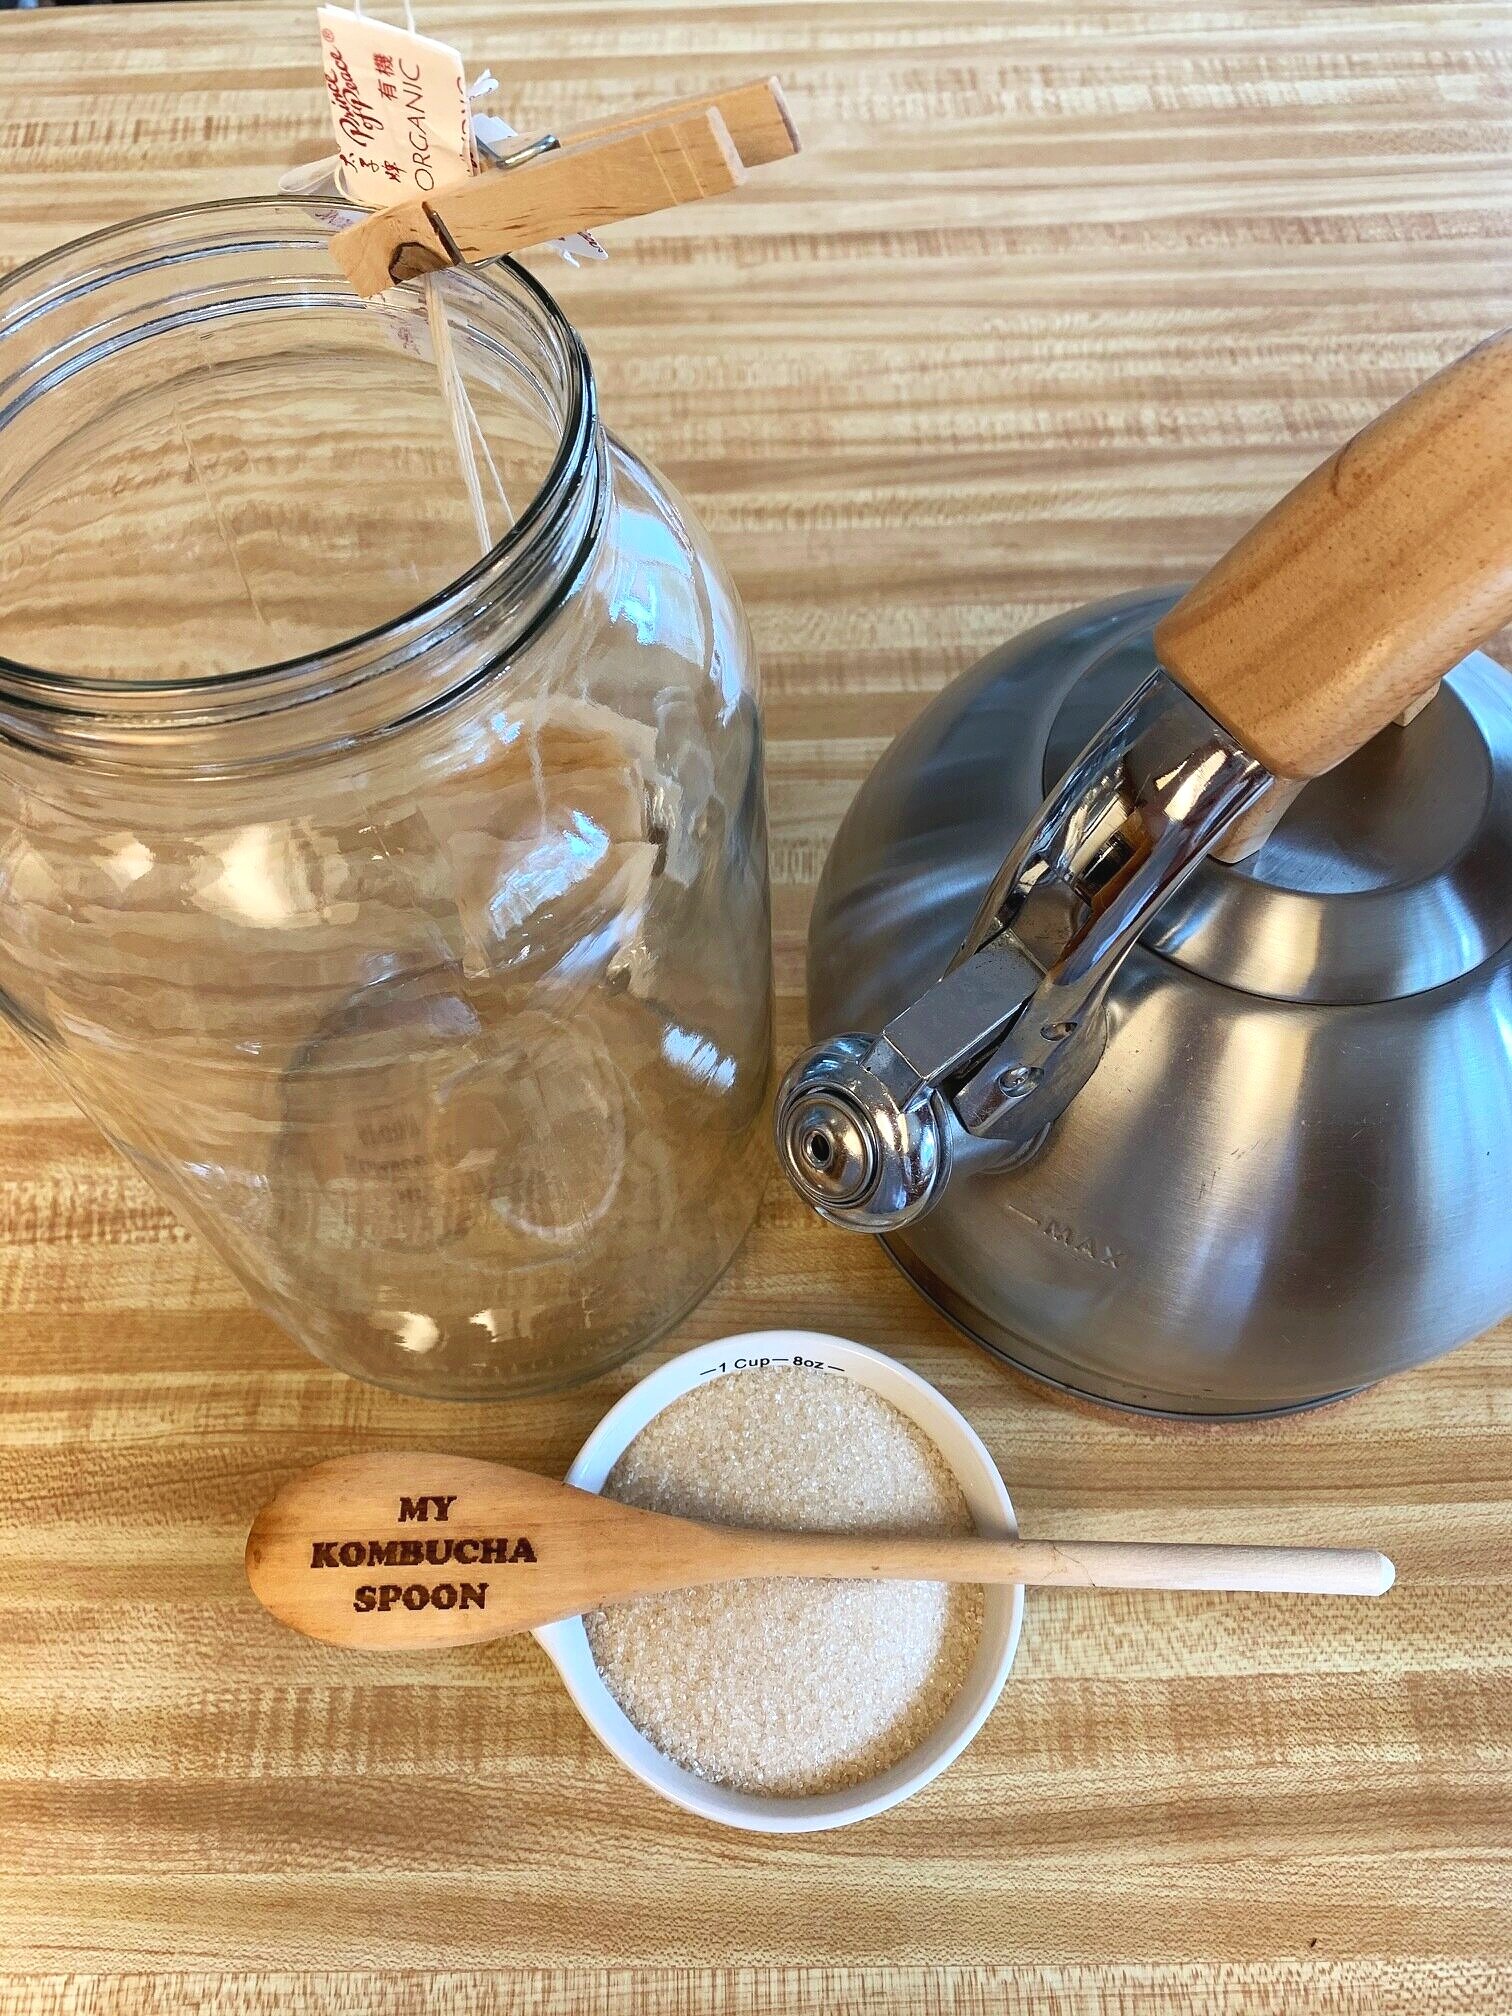
Step 1: Get your materials together. You're going to need a teapot, a large glass container, cheesecloth and rubber band, a wooden spoon, 8 tea bags of black or green tea, a SCOBY and some starter tea, and 1 cup of sugar. I got a great kit that had the glass container, cheesecloth etc. on Amazon, which made it really simple. Here's the link in case you'd like to do the same. I’ve also included the link for the SCOBY and starter tea kit.
SCOBY link: click here
Large brewing jars and cloth link: click here
Step 2: Fill your teapot and bring it to a boil. While you're waiting for the water to boil, take your large glass container and run it under warm water to get it ready for the boiling water you'll soon pour in it. Also, open all your tea packets and have them ready to go.
Step 3: Place the tea bags in the large glass container and pour the hot water over the top of them. (I use a wooden clothes pin to hold the tea bags together and clip it to the mouth of the container) Pour in the sugar and gently stir it with your wooden spoon until it mostly dissolves. Now just set the tea aside until it completely cools. (insert pic of this step)
Step 4: Once the sweetened tea has completely cooled, add more water to the jar, leaving just enough space at the top for your SCOBY and starter tea.

Step 5: Now it's time to pour in the starter tea and SCOBY. This is what makes all the magic happen! Your SCOBY should float at the top of the container, but if it sinks to the bottom, don't worry. A new SCOBY will start to form at the top of the brew in a few days. Then you'll have 2!
Step 6: Now place the cheese cloth over top of the jar and secure it with the rubber band. Carefully pick the jar up and put it in a dark cabinet, or shelf that’s somewhere out of any direct sunlight. It also needs to be at a temperature of somewhere between 75-85 degrees Fahrenheit consistently. A cabinet above your fridge or a kitchen pantry would work beautifully.
Now all you need to do is let it do it's thing. You can start tasting your brew to see how things are progressing around day 8-10. You do this by carefully inserting a straw down the side of the jar and placing your thumb on top of the straw once it's full. Then gently pull the straw out and put in a glass to taste. Never drink from the straw or sip directly from your jar. You don’t want to contaminate or introduce bacteria to your booch! Usually it takes 12-14 days for my first fermentation to be done. I tend to like mine a bit more on the vinegar side, not too sweet, so I let it sit a little longer. That's it! Now you know how to brew Kombucha in its first fermentation.
If you're wondering what to do once your first brew is finished, take the SCOBY out (with clean hands) and set it in a glass dish along with 1 cup of the finished tea. This becomes the starter for your next batch and the fun continues! Now you can start the process again so its brewing while you're enjoying the batch you just finished. With the remaining tea you can either put it in the fridge or pour it in to single serving containers and do the same. Or, you can flavor them and do a second fermentation. That's what I do and is likely what you're used to if you've been buying your Kombucha from the store up until this point. I'll write about second fermentation in another post soon.
If you are a serious Kombucha lover like me, I hope you try it out. I think you'll really enjoy the process, especially when you discover how easy it really is. Have fun and let me know how yours turns out!
Cheers!